Invoice & Payment Management
Manage invoices, mark payments as paid, reconcile bank transfers, and review the full payment transaction history
Invoice & Payment Management
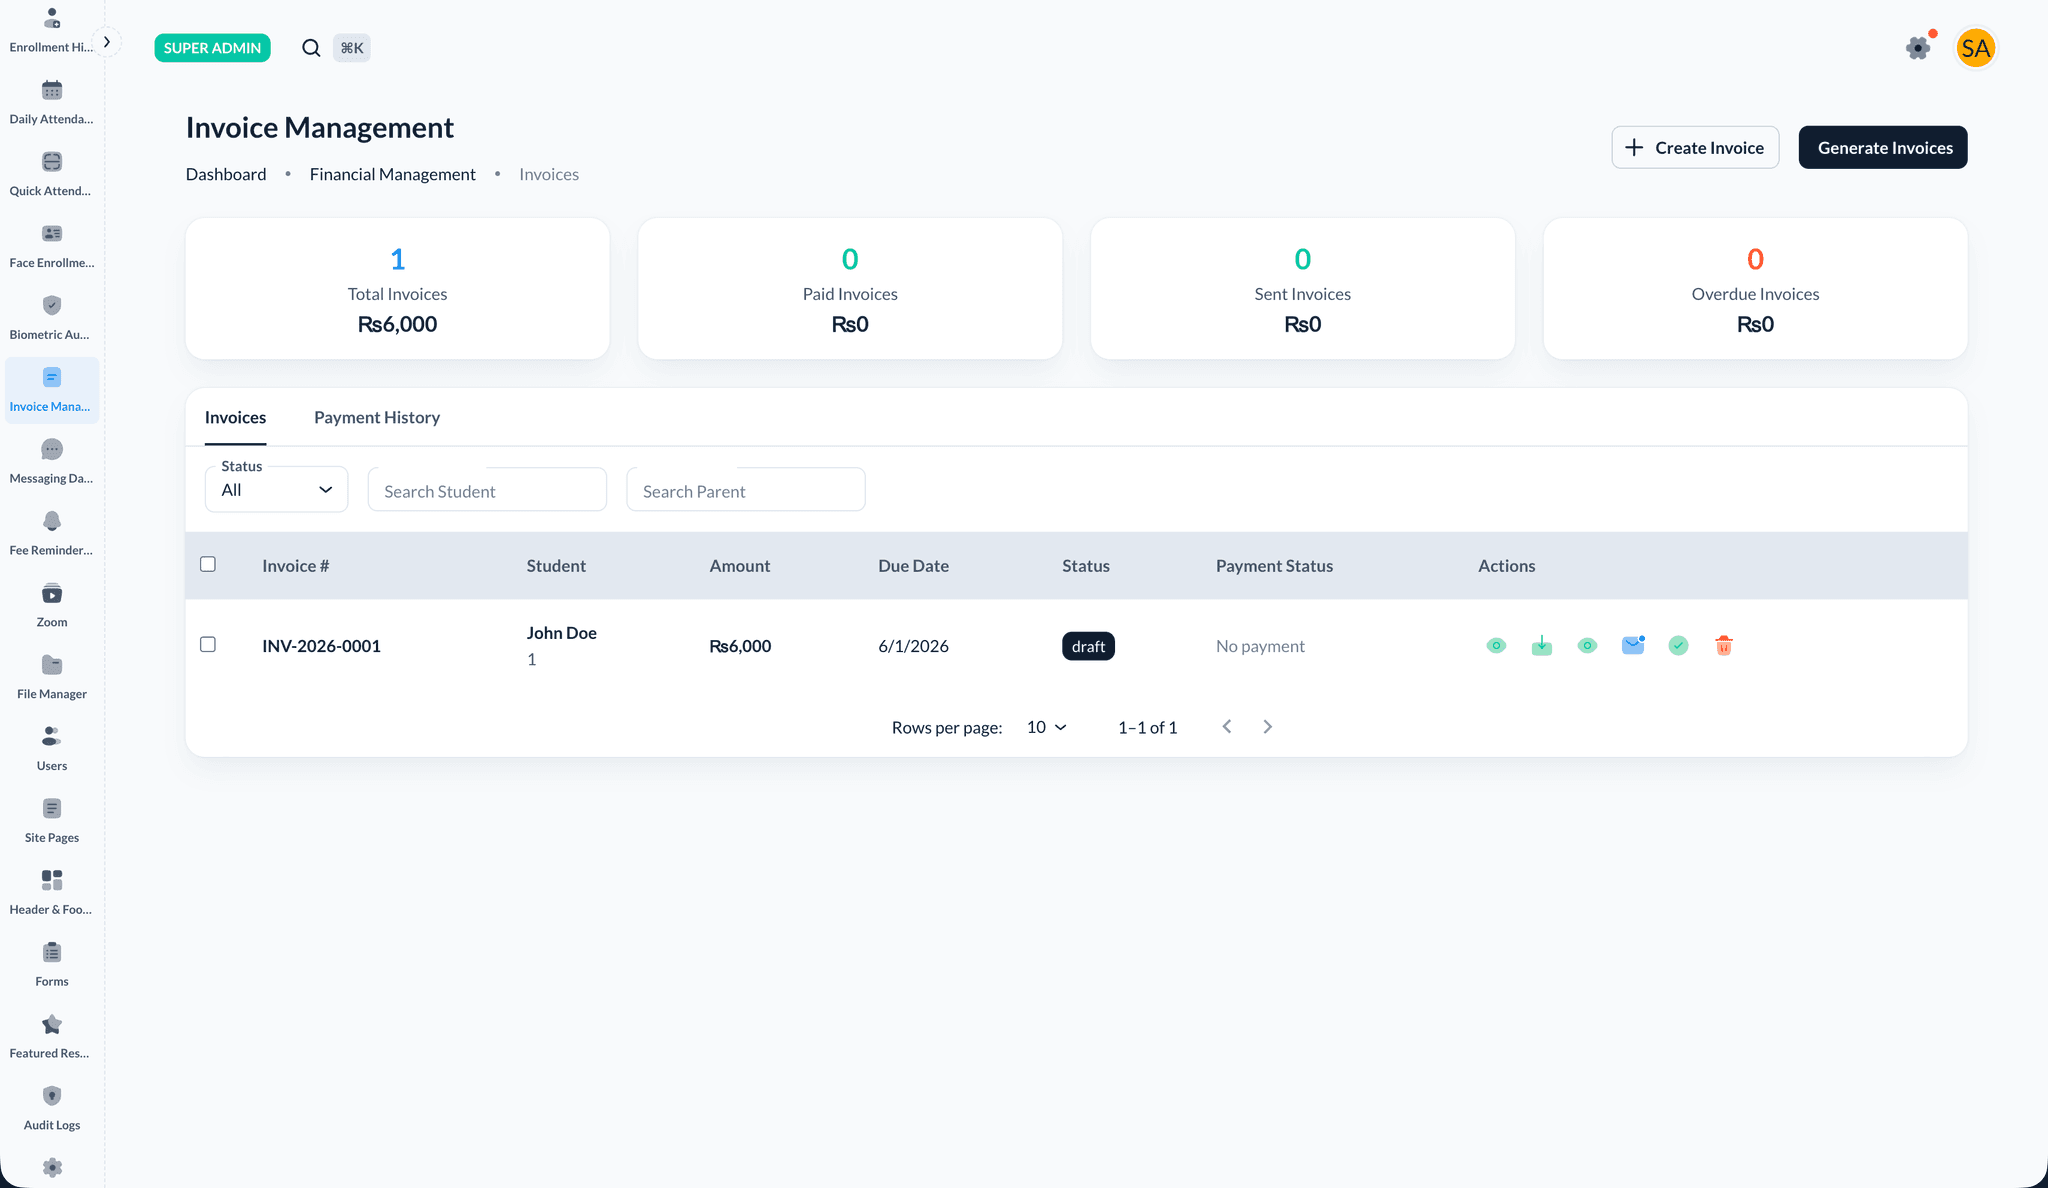
The Invoice management screen is where administrators create and track invoices and reconcile payments. It has two tabs: Invoices and Payment History.
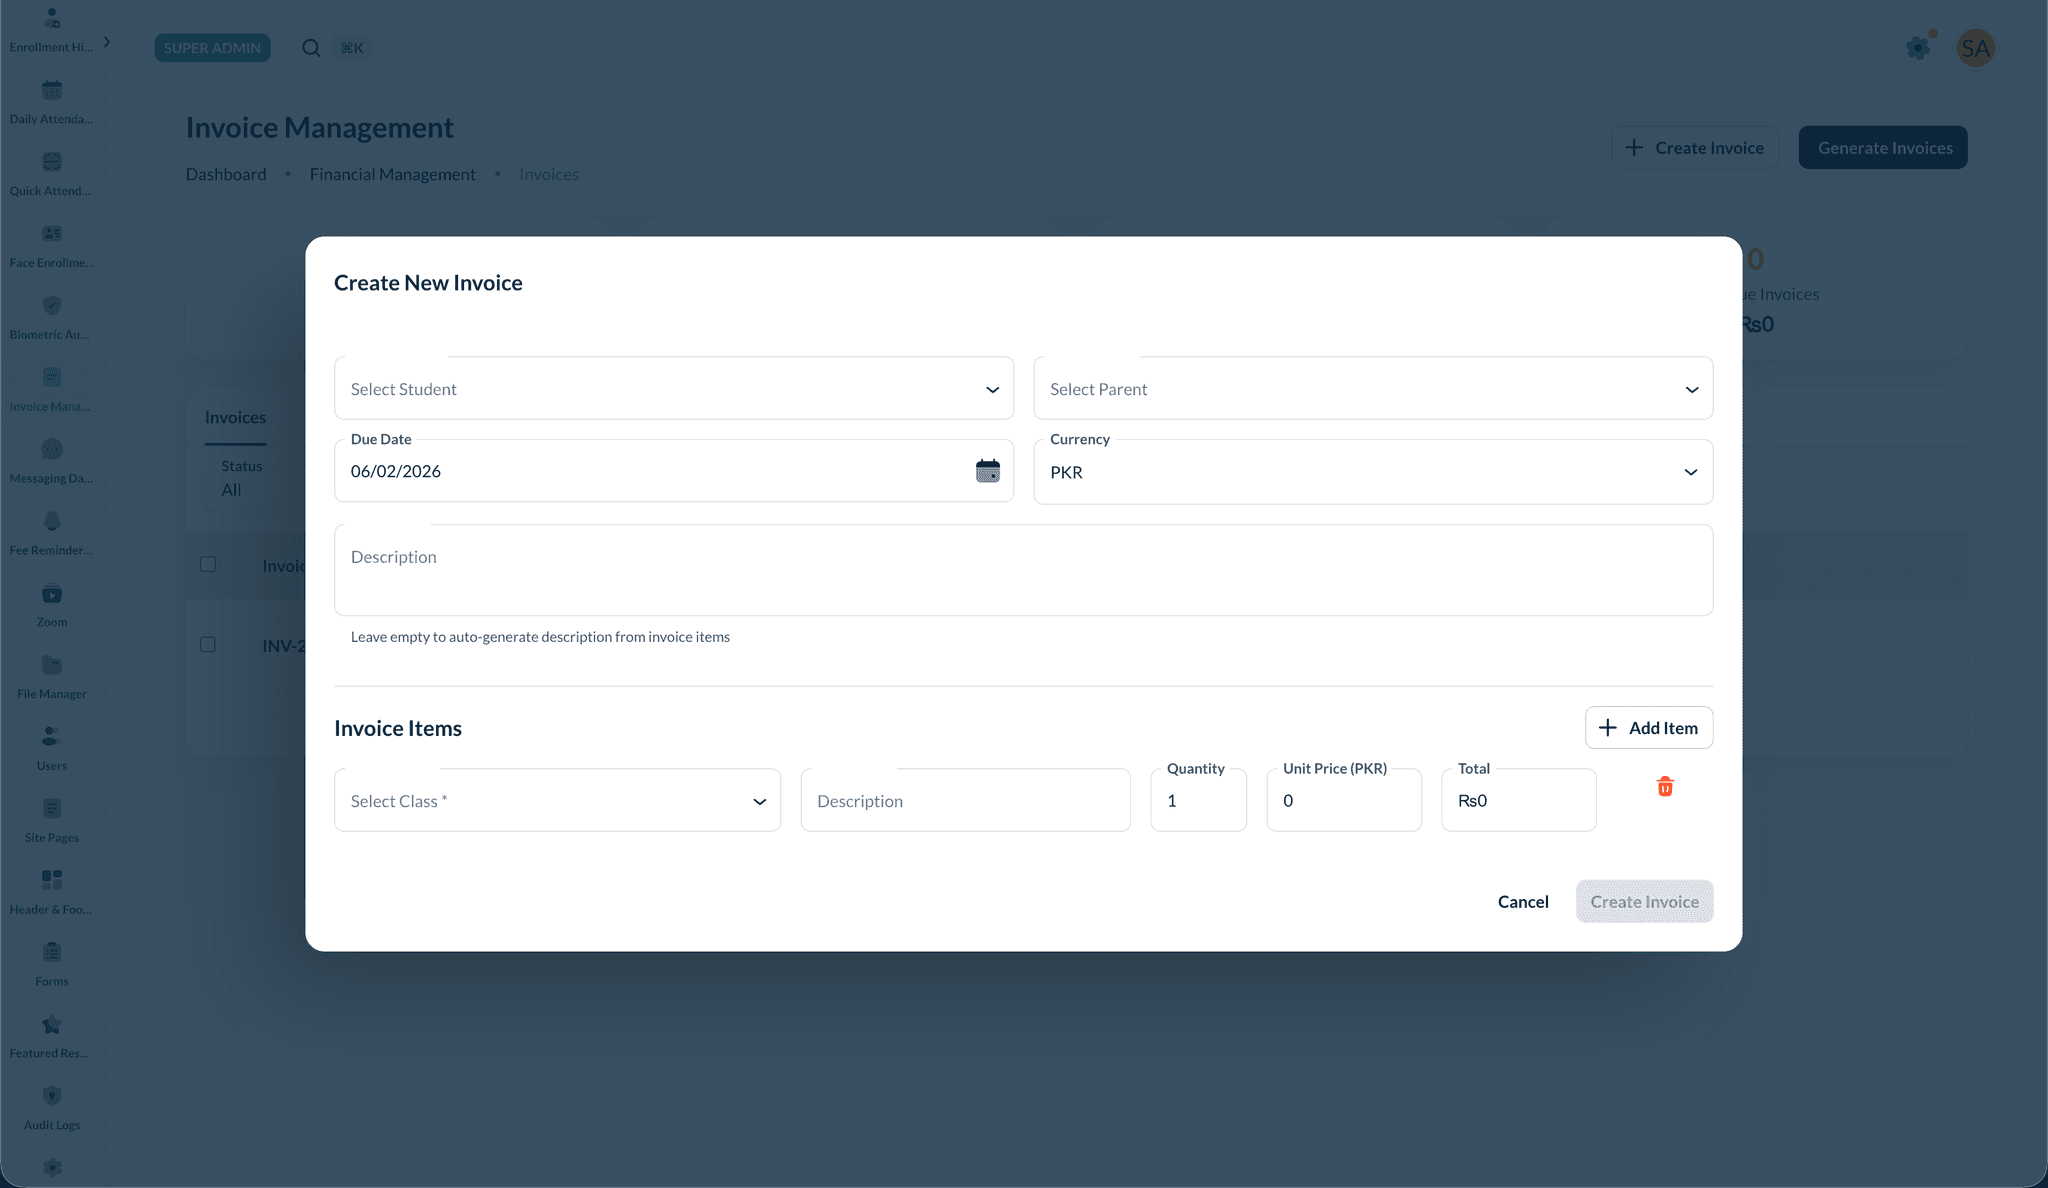
Creating an invoice
- Open Invoice Management from the sidebar
- Click Create Invoice
- Select the student and class (or classes) to bill
- Review fee amounts and due date, then save
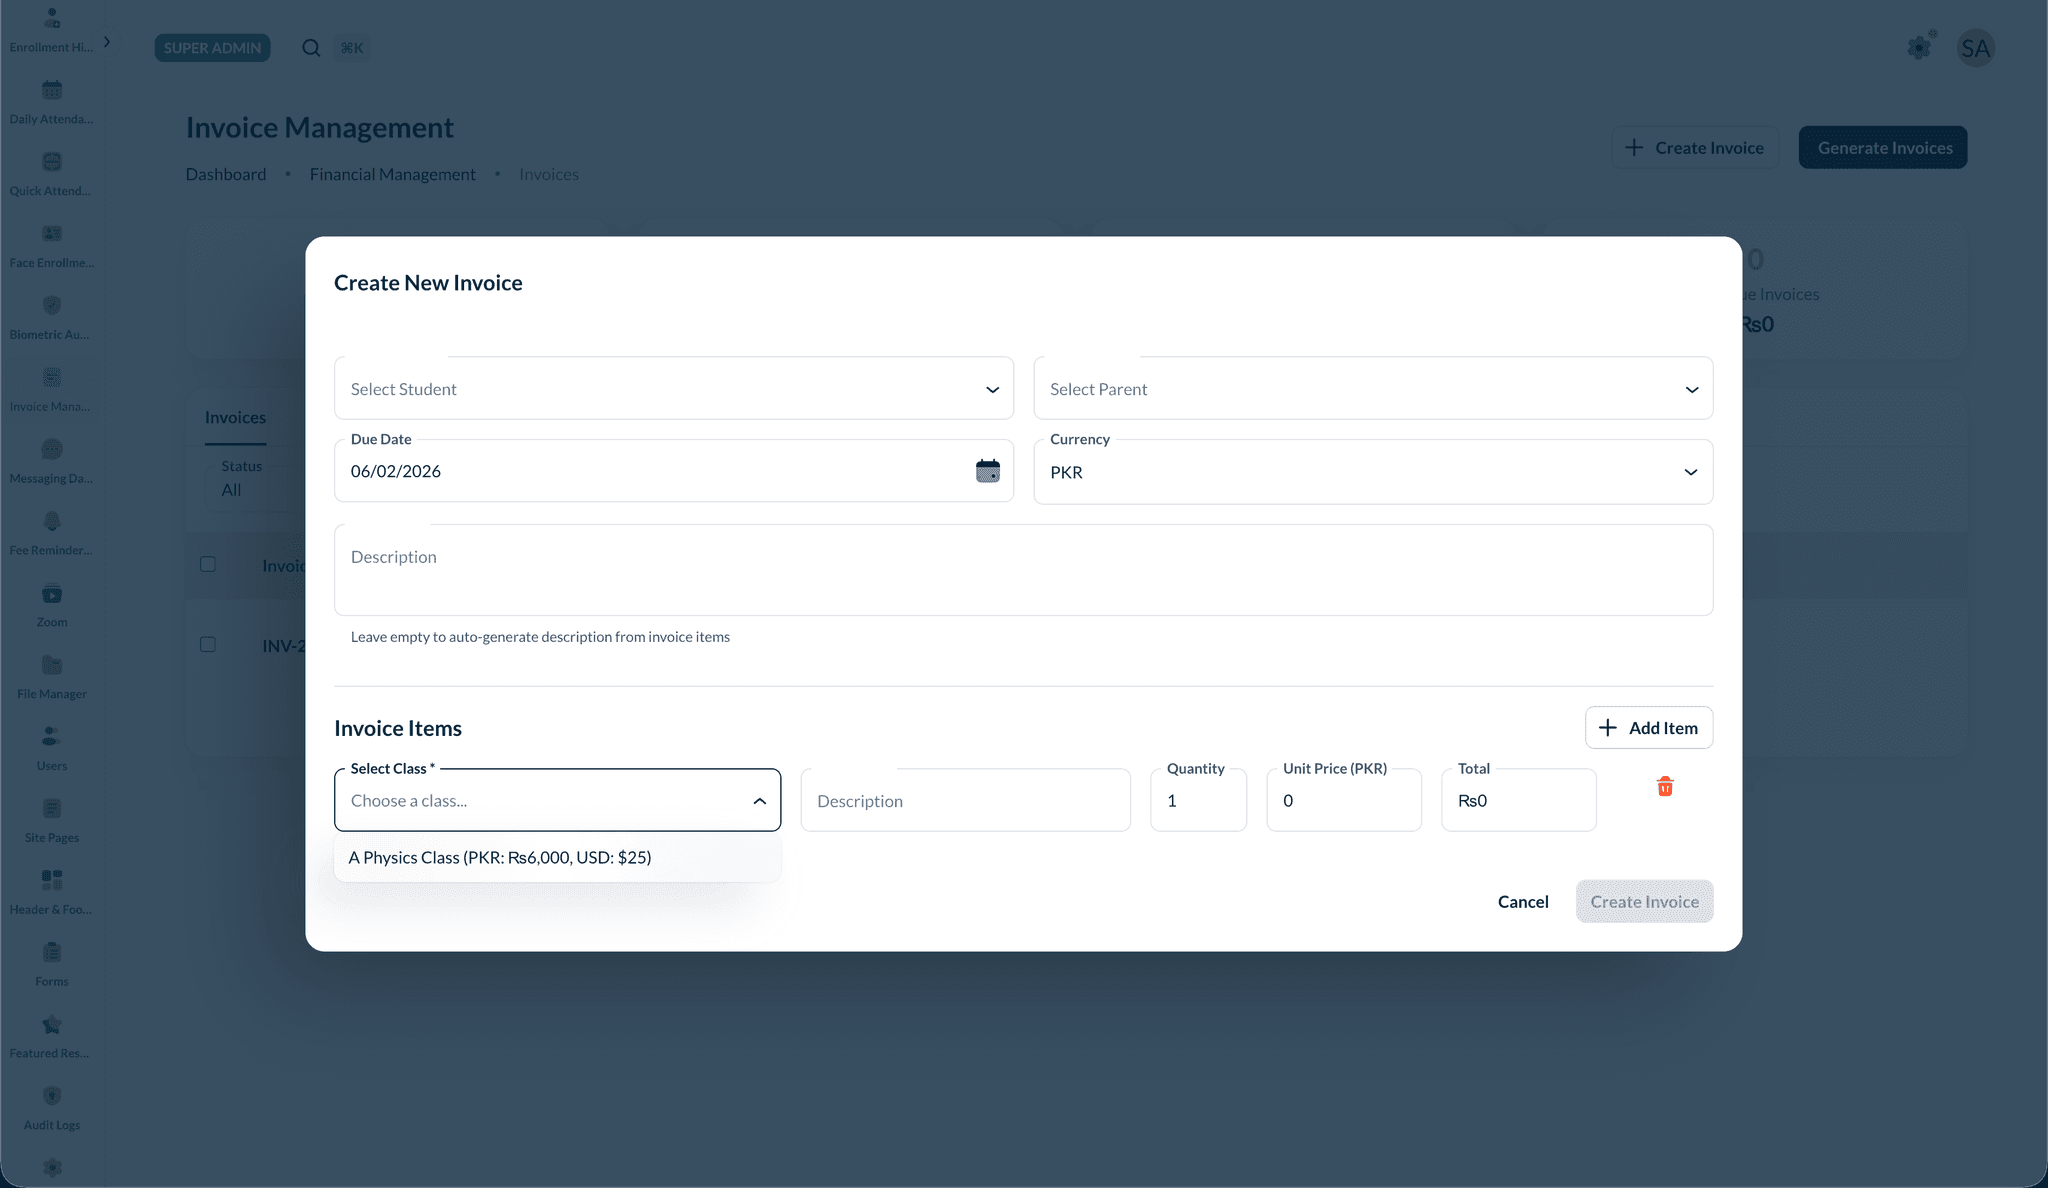
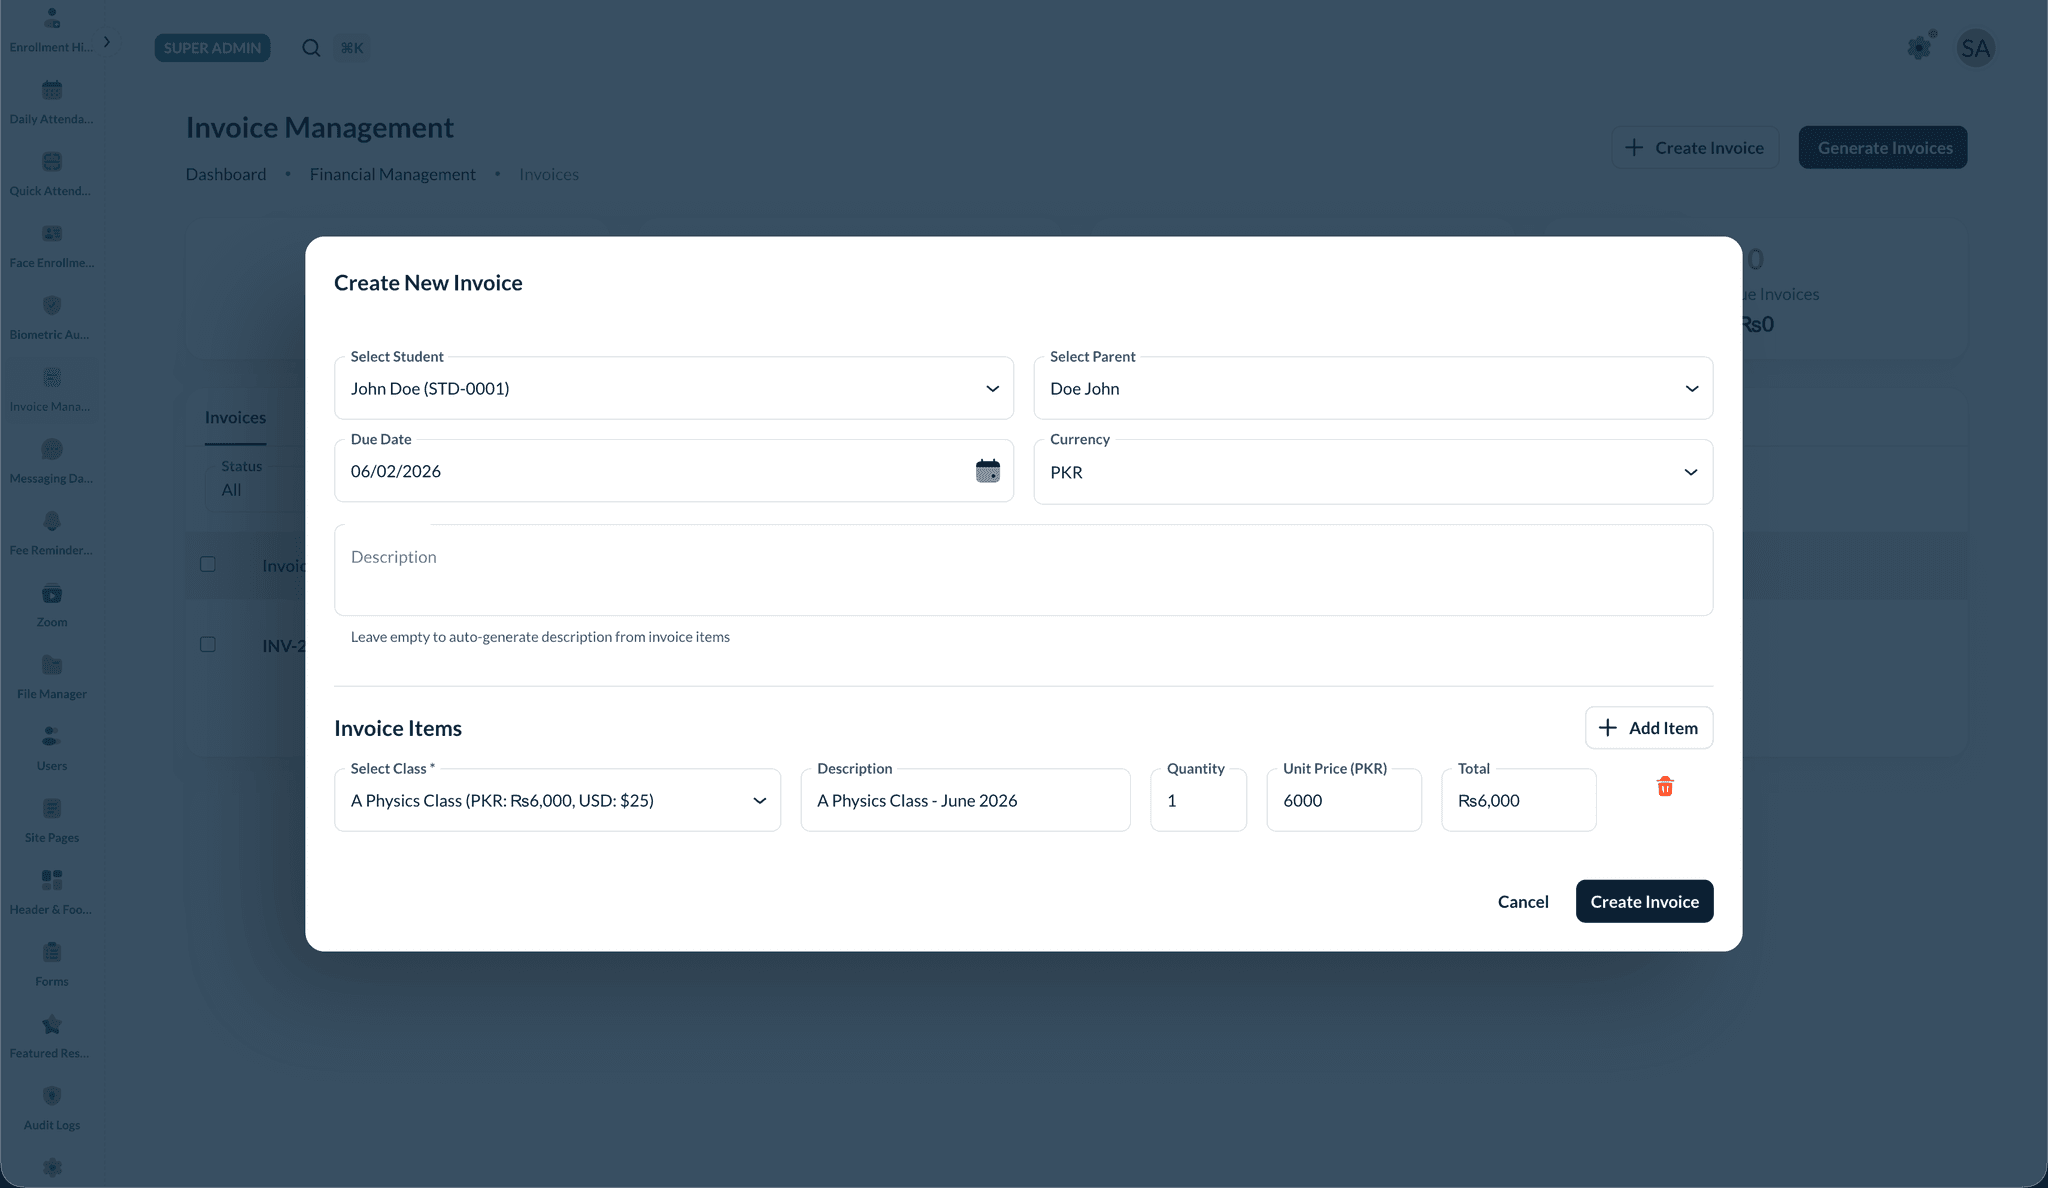
You can also create invoices manually from the create flow:
Invoices tab
The Invoices tab lists all invoices with search and status filters. From here you can:
- Search by student or parent.
- Filter by status (draft, sent, paid, overdue, cancelled).
- Create single or bulk invoices.
- View an invoice and its PDF (which doubles as a receipt once paid).
- Mark an invoice as paid when payment was collected offline (see below).
Marking an invoice as paid (manual payment)
When a parent or student pays offline — cash, bank transfer, cheque, QR, or POS — record it directly against the invoice instead of waiting for an online gateway.
- Find the invoice and choose Mark as Paid.
- In the dialog:
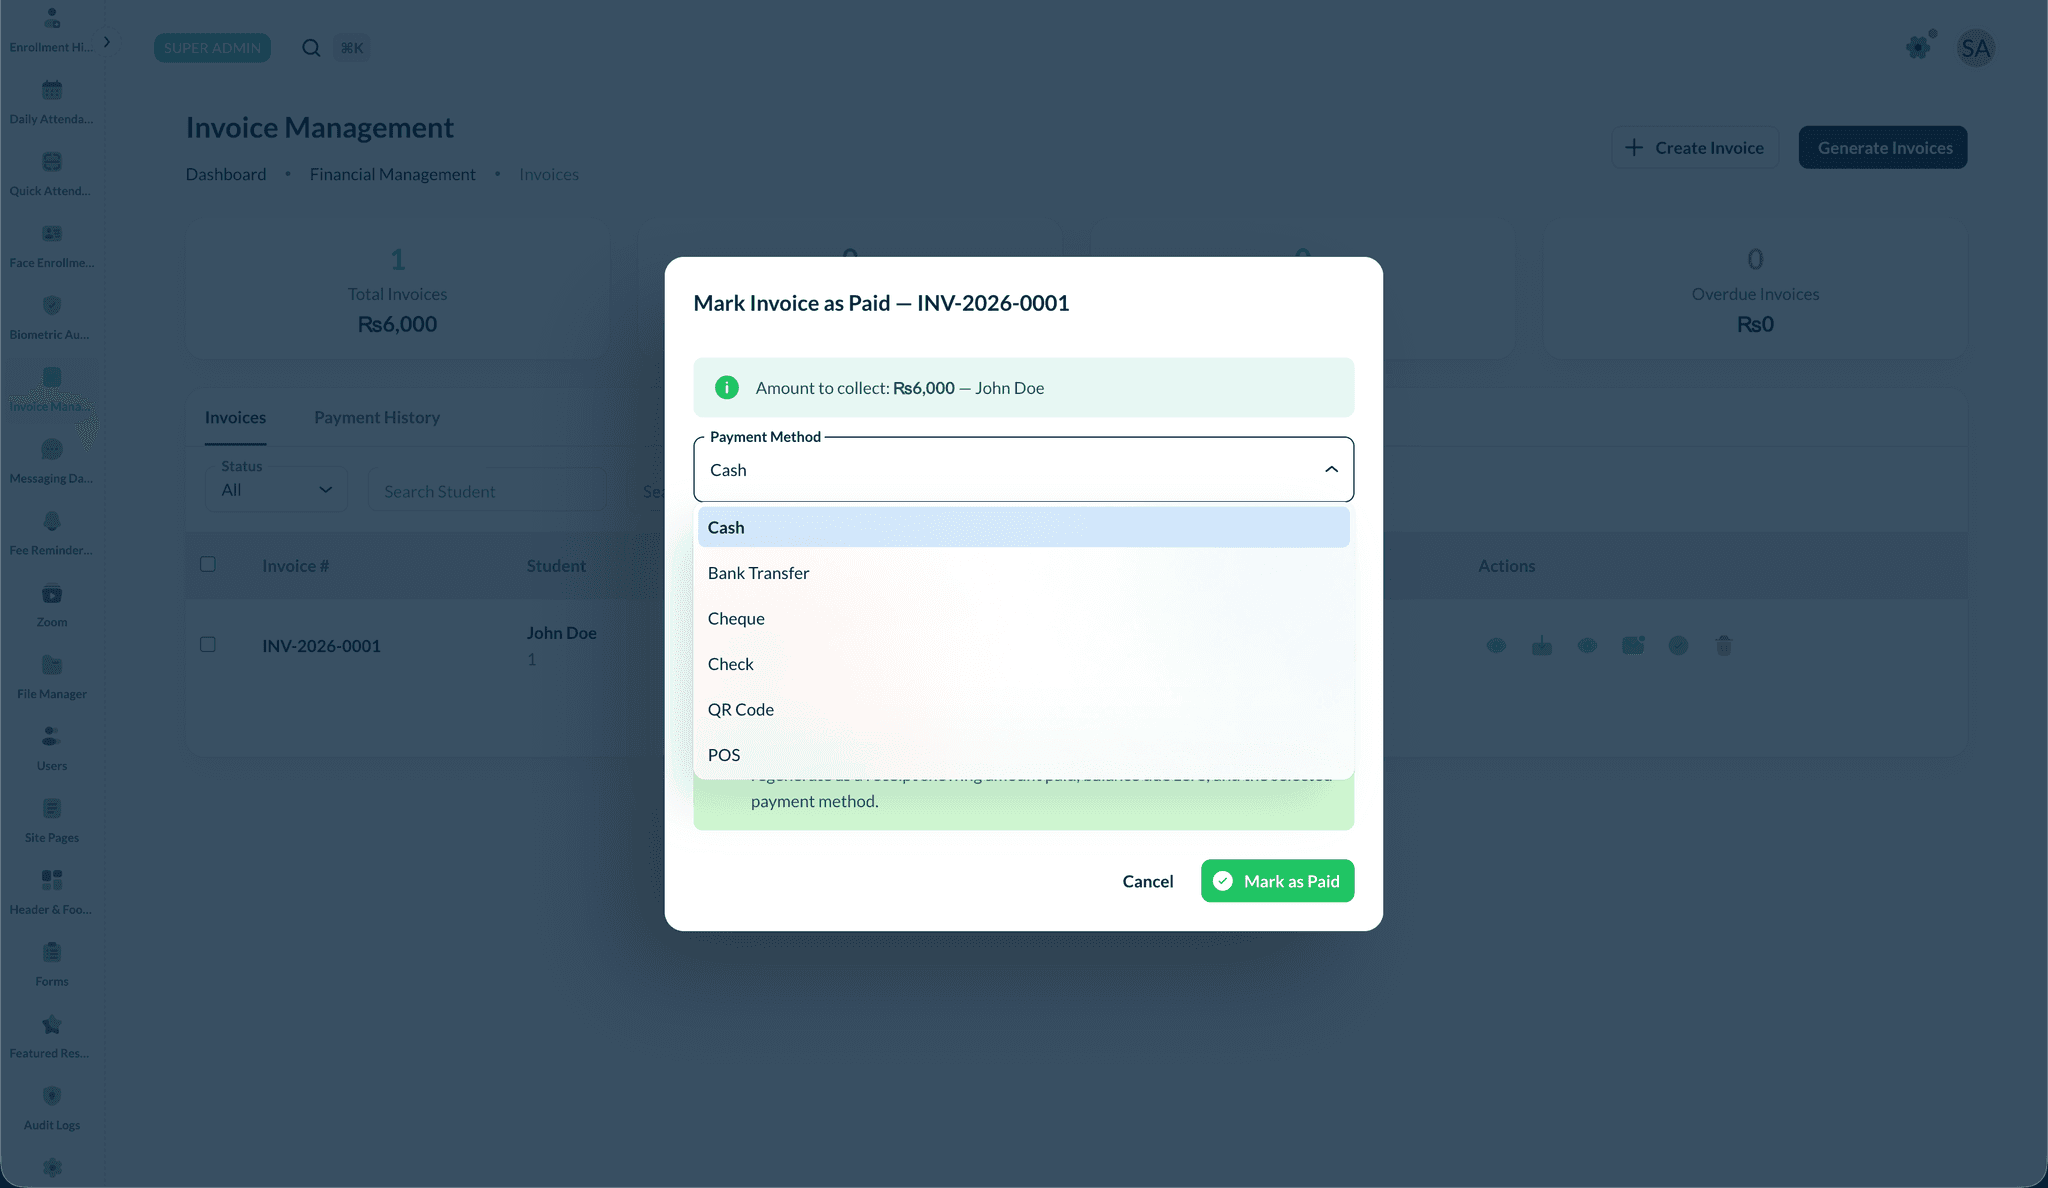
- Payment Method — Cash, Bank Transfer, Cheque/Check, QR Code, or POS.
- Reference — a receipt or transaction reference. This is optional for cash but required for every other method so there's an audit trail.
- Payment Date — defaults to today; change it to the actual date collected.
- Confirm.
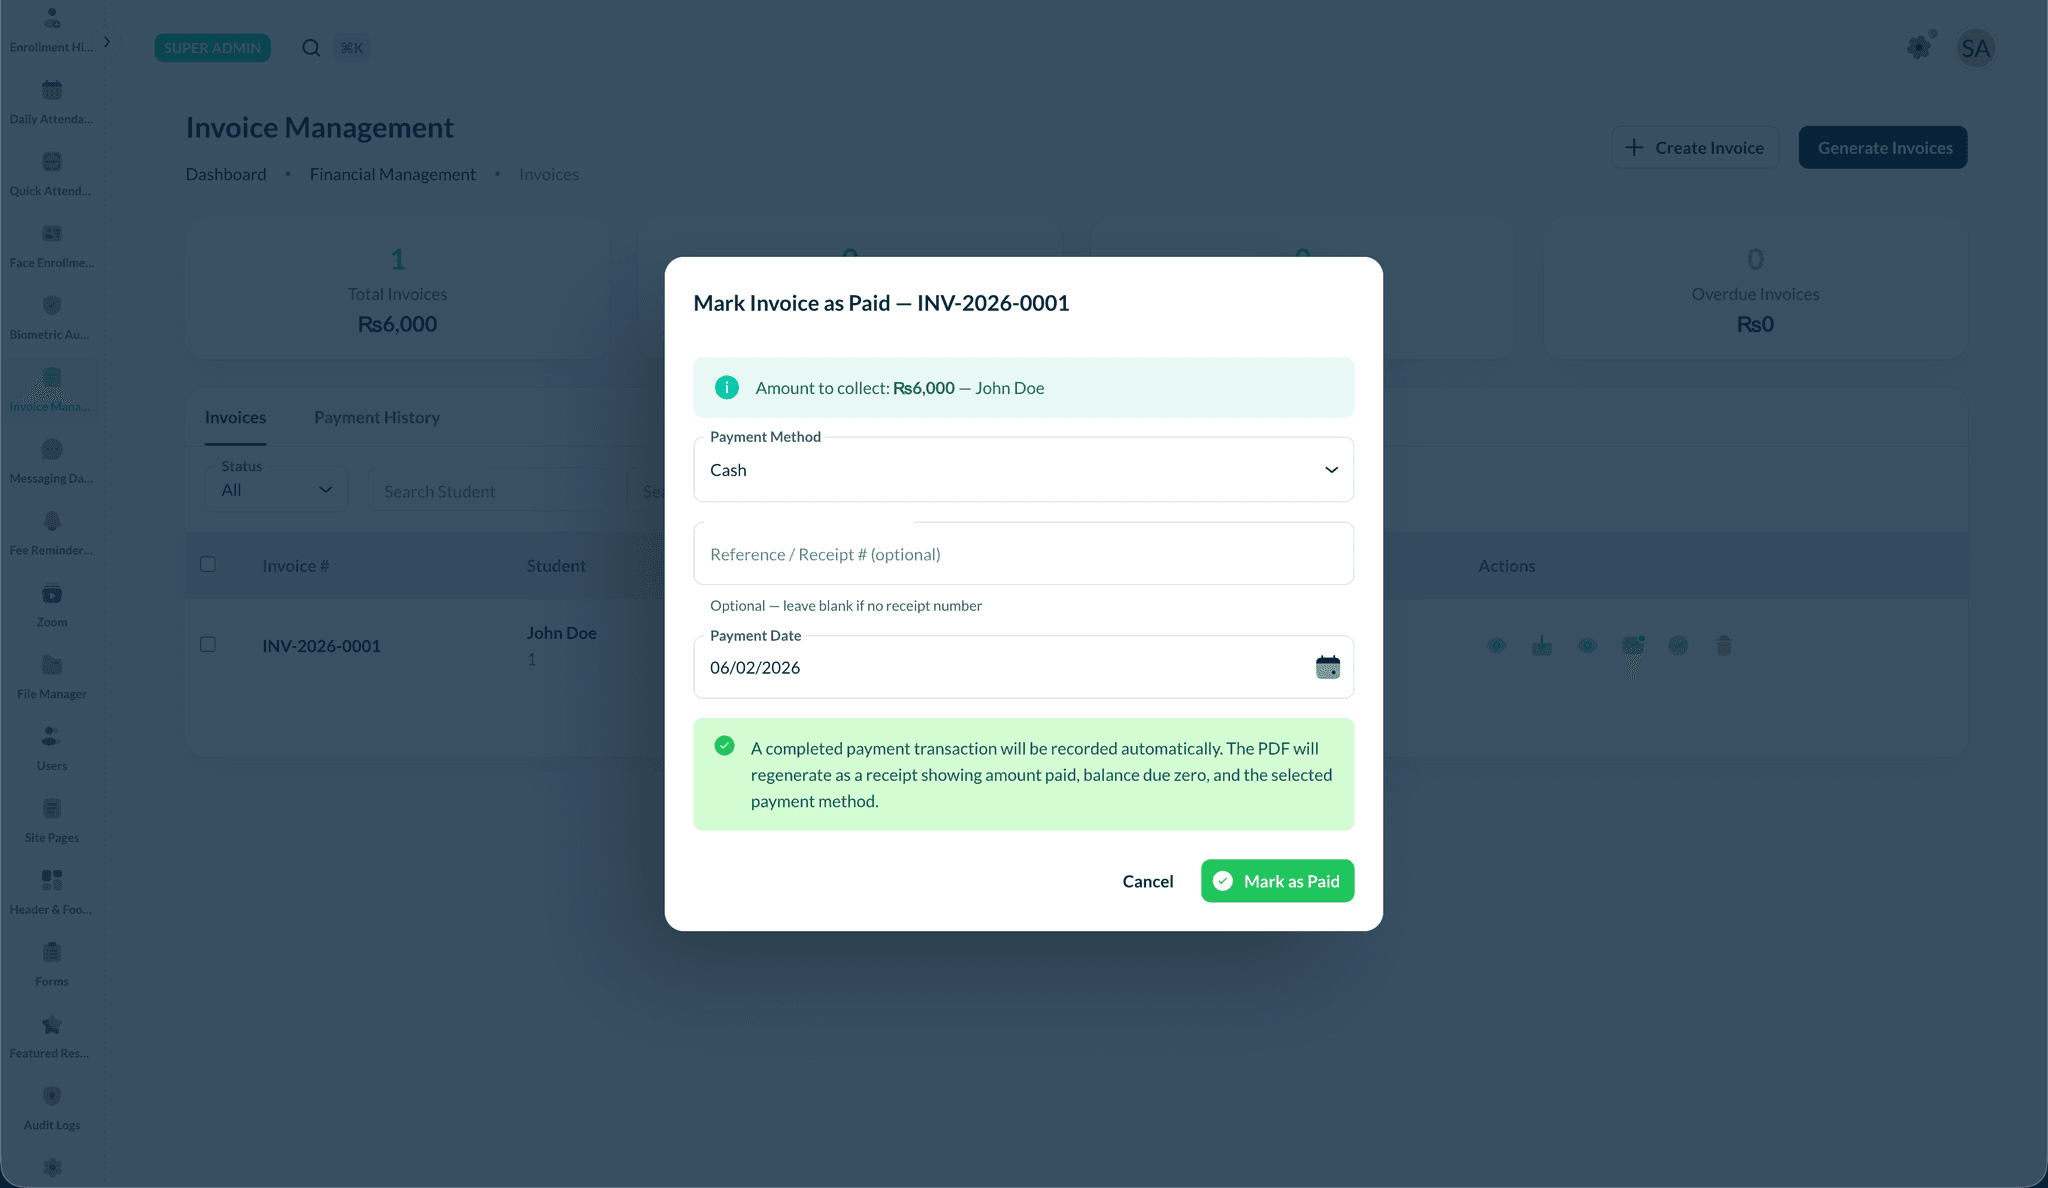
On confirmation:
- A completed payment transaction is recorded automatically.
- The invoice status becomes paid.
- The invoice PDF regenerates as a receipt showing the amount paid, a zero balance due, and the selected payment method.
When to use Mark as Paid
Use this for money collected outside the platform. Online card payments and parent-initiated bank transfers flow in through the payment gateway automatically — you don't need to mark those manually.
Payment History tab
The Payment History tab shows the full log of payment transactions across the platform — every attempt and completed payment, regardless of how it was made.
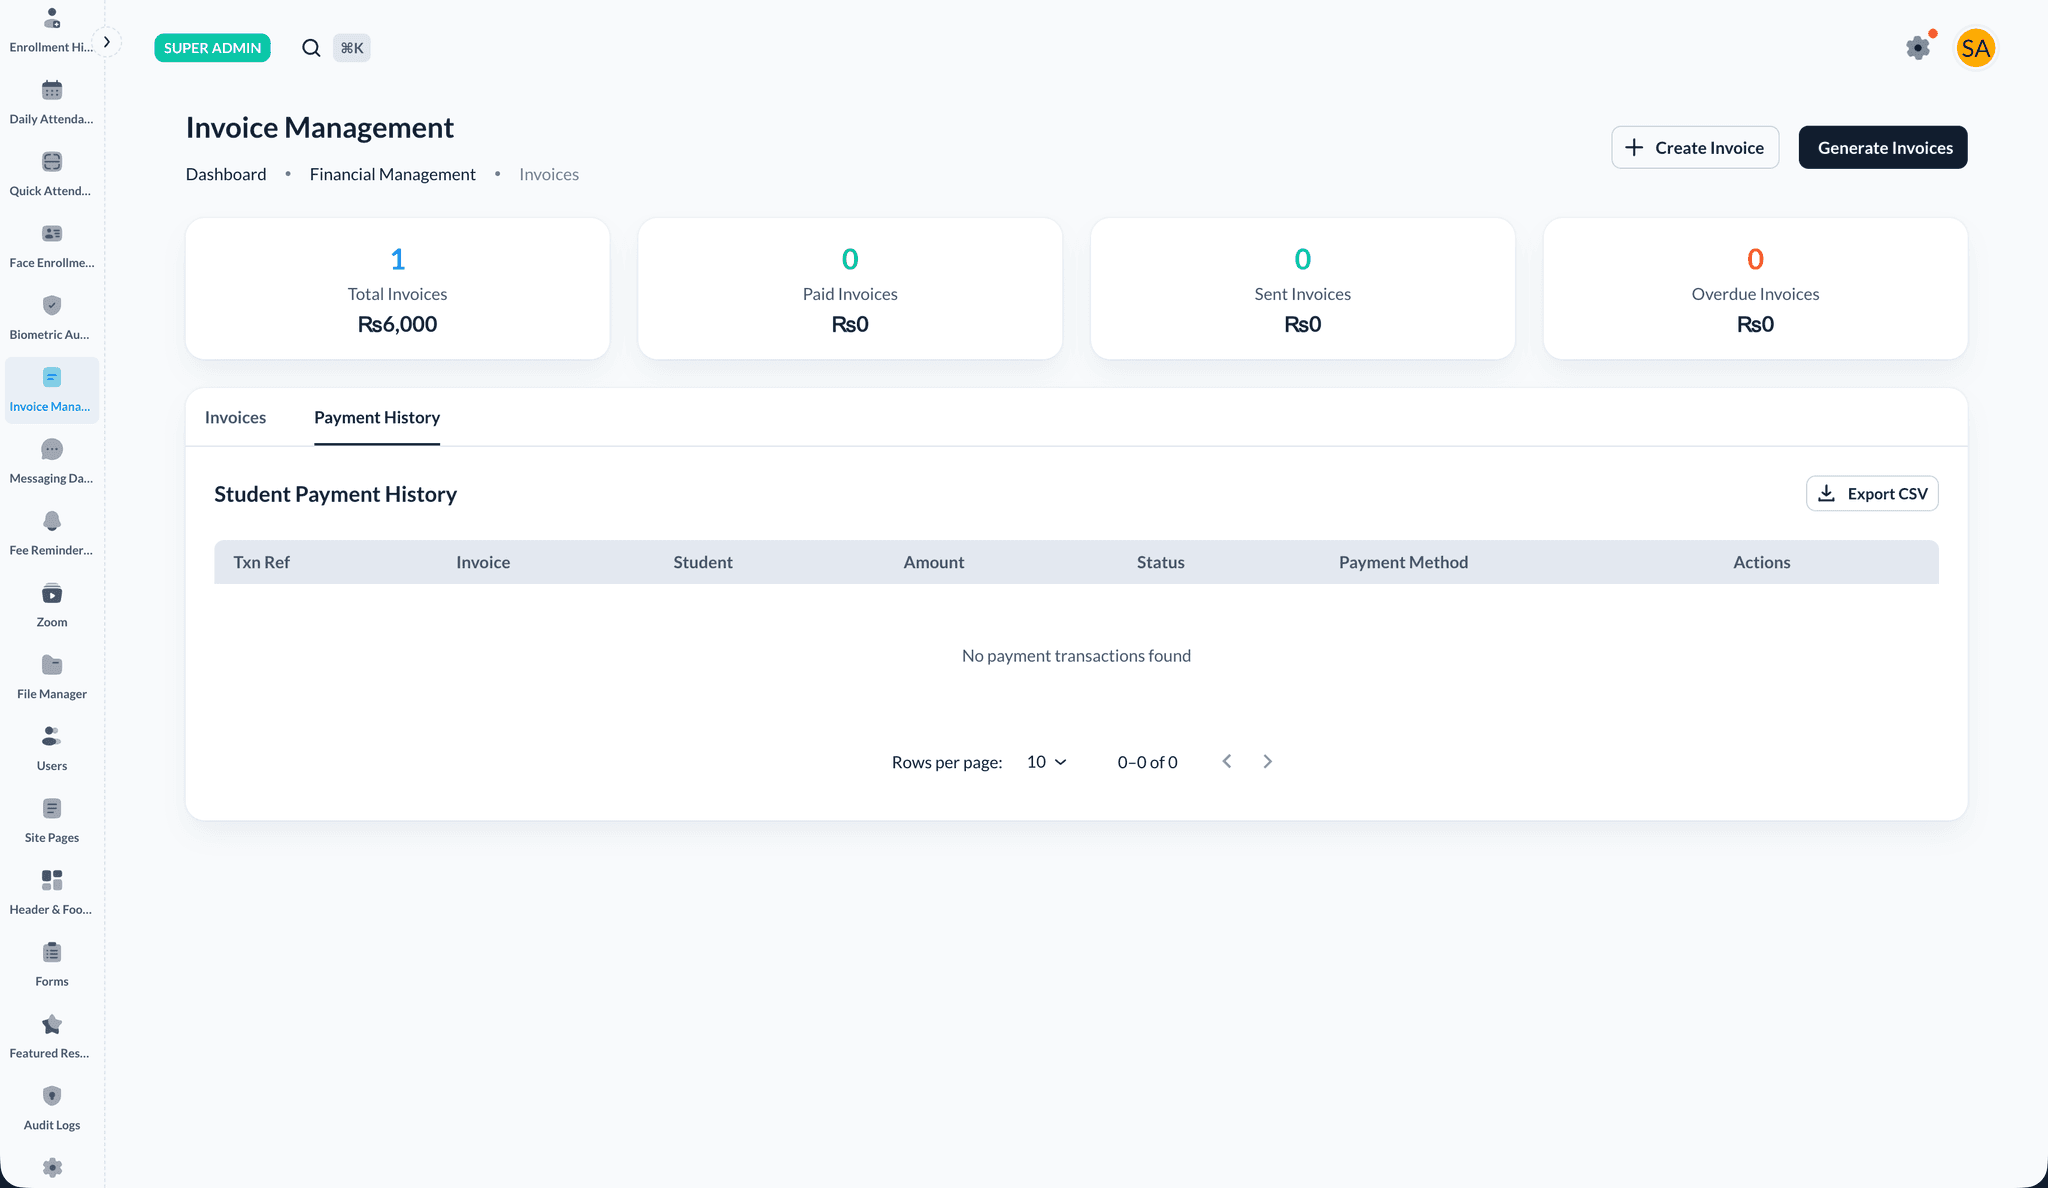
Each row shows:
- Transaction reference (with a copy button)
- Invoice number
- Student
- Amount
- Status (e.g. completed, pending, failed)
- Payment method
Use Export CSV to download the transaction log for accounting.
Transaction details
Click the view icon on any transaction to open its details, including transaction and gateway references, invoice, student, currency, payment method, and processed/created/updated timestamps. For gateway payments, the raw gateway response and webhook data are shown for debugging.
Reconciling bank transfers
When a parent submits a bank transfer with proof, it arrives here as a pending transaction so you can verify it before counting it as paid.
- Open the transaction's details. If proof was uploaded, it's previewed inline (image or PDF).
- Verify the proof against the amount and reference.
- Choose an action:
- Mark Paid — confirms the transfer. The transaction becomes completed and the processed date is set.
- Revert to Unpaid — sends a previously-confirmed transfer back to pending if it was confirmed in error.
Use the transaction detail view in Payment History to review proof and confirm or revert payments.
Reconciliation is reversible
"Revert to Unpaid" exists so a mistaken confirmation can be undone. Both actions update the transaction immediately and refresh the history.
Where each payment type comes from
| Payment type | How it's recorded | Where you reconcile it |
|---|---|---|
| Online card / wallet (gateway) | Automatically on gateway success | Auto-completed; visible in Payment History |
| Parent bank transfer + proof | Created as pending when the parent submits | Payment History → open transaction → Mark Paid |
| Offline cash / cheque / POS / QR | You record it via Mark as Paid on the invoice | Recorded as completed immediately |
| Onboarding link approval | Paid invoice auto-created (offline) on approval | Already marked paid |
Best Practices
Troubleshooting
Issue: A bank transfer isn't showing as paid
- Solution: It likely arrived as pending. Open it in Payment History, review the proof, and click Mark Paid.
Issue: I marked the wrong invoice as paid
- Solution: Open the related transaction in Payment History and use Revert to Unpaid.
Issue: The receipt PDF still shows a balance due
- Solution: Make sure the invoice was marked paid (not just the proof uploaded). The PDF regenerates as a receipt once the invoice status is paid.
Related Topics
- Fee Management - Fee structures and invoice generation
- Reports & Analytics - Financial analytics and collection rates
- Student Onboarding Links - Offline-paid invoices on approval